Mixed media is a fantastic way to express your creativity by combining different materials and techniques.
1. Surfaces to Work On
First things first, you need a surface to create your masterpiece. Here are some popular options:
- Canvas: A classic choice for its durability and versatility. Available in various sizes, pre-stretched canvases are perfect for mixed media. For those just starting out, consider using canvas boards, which are more affordable and easier to store.
- Art Journals: Ideal for smaller projects and practicing techniques. Look for journals with thick, heavy-duty paper that can handle multiple layers. A good tip is to use gesso on each page before starting to ensure it can handle heavy applications.
- Wood Panels: These provide a sturdy surface and can be great for adding texture with different materials. Wood panels offer a rigidity that allows for heavy layering, and they can be sanded down if you want to create a distressed look.
- Watercolor Paper: Its heavy weight and textured surface make it excellent for mixed media projects. Opt for cold-pressed paper if you prefer a more textured finish or hot-pressed for a smoother surface.

Tip for Advanced Artists: Consider experimenting with unconventional surfaces like metal sheets or fabric. These surfaces can add a unique dimension to your work, challenging you to adapt your techniques.
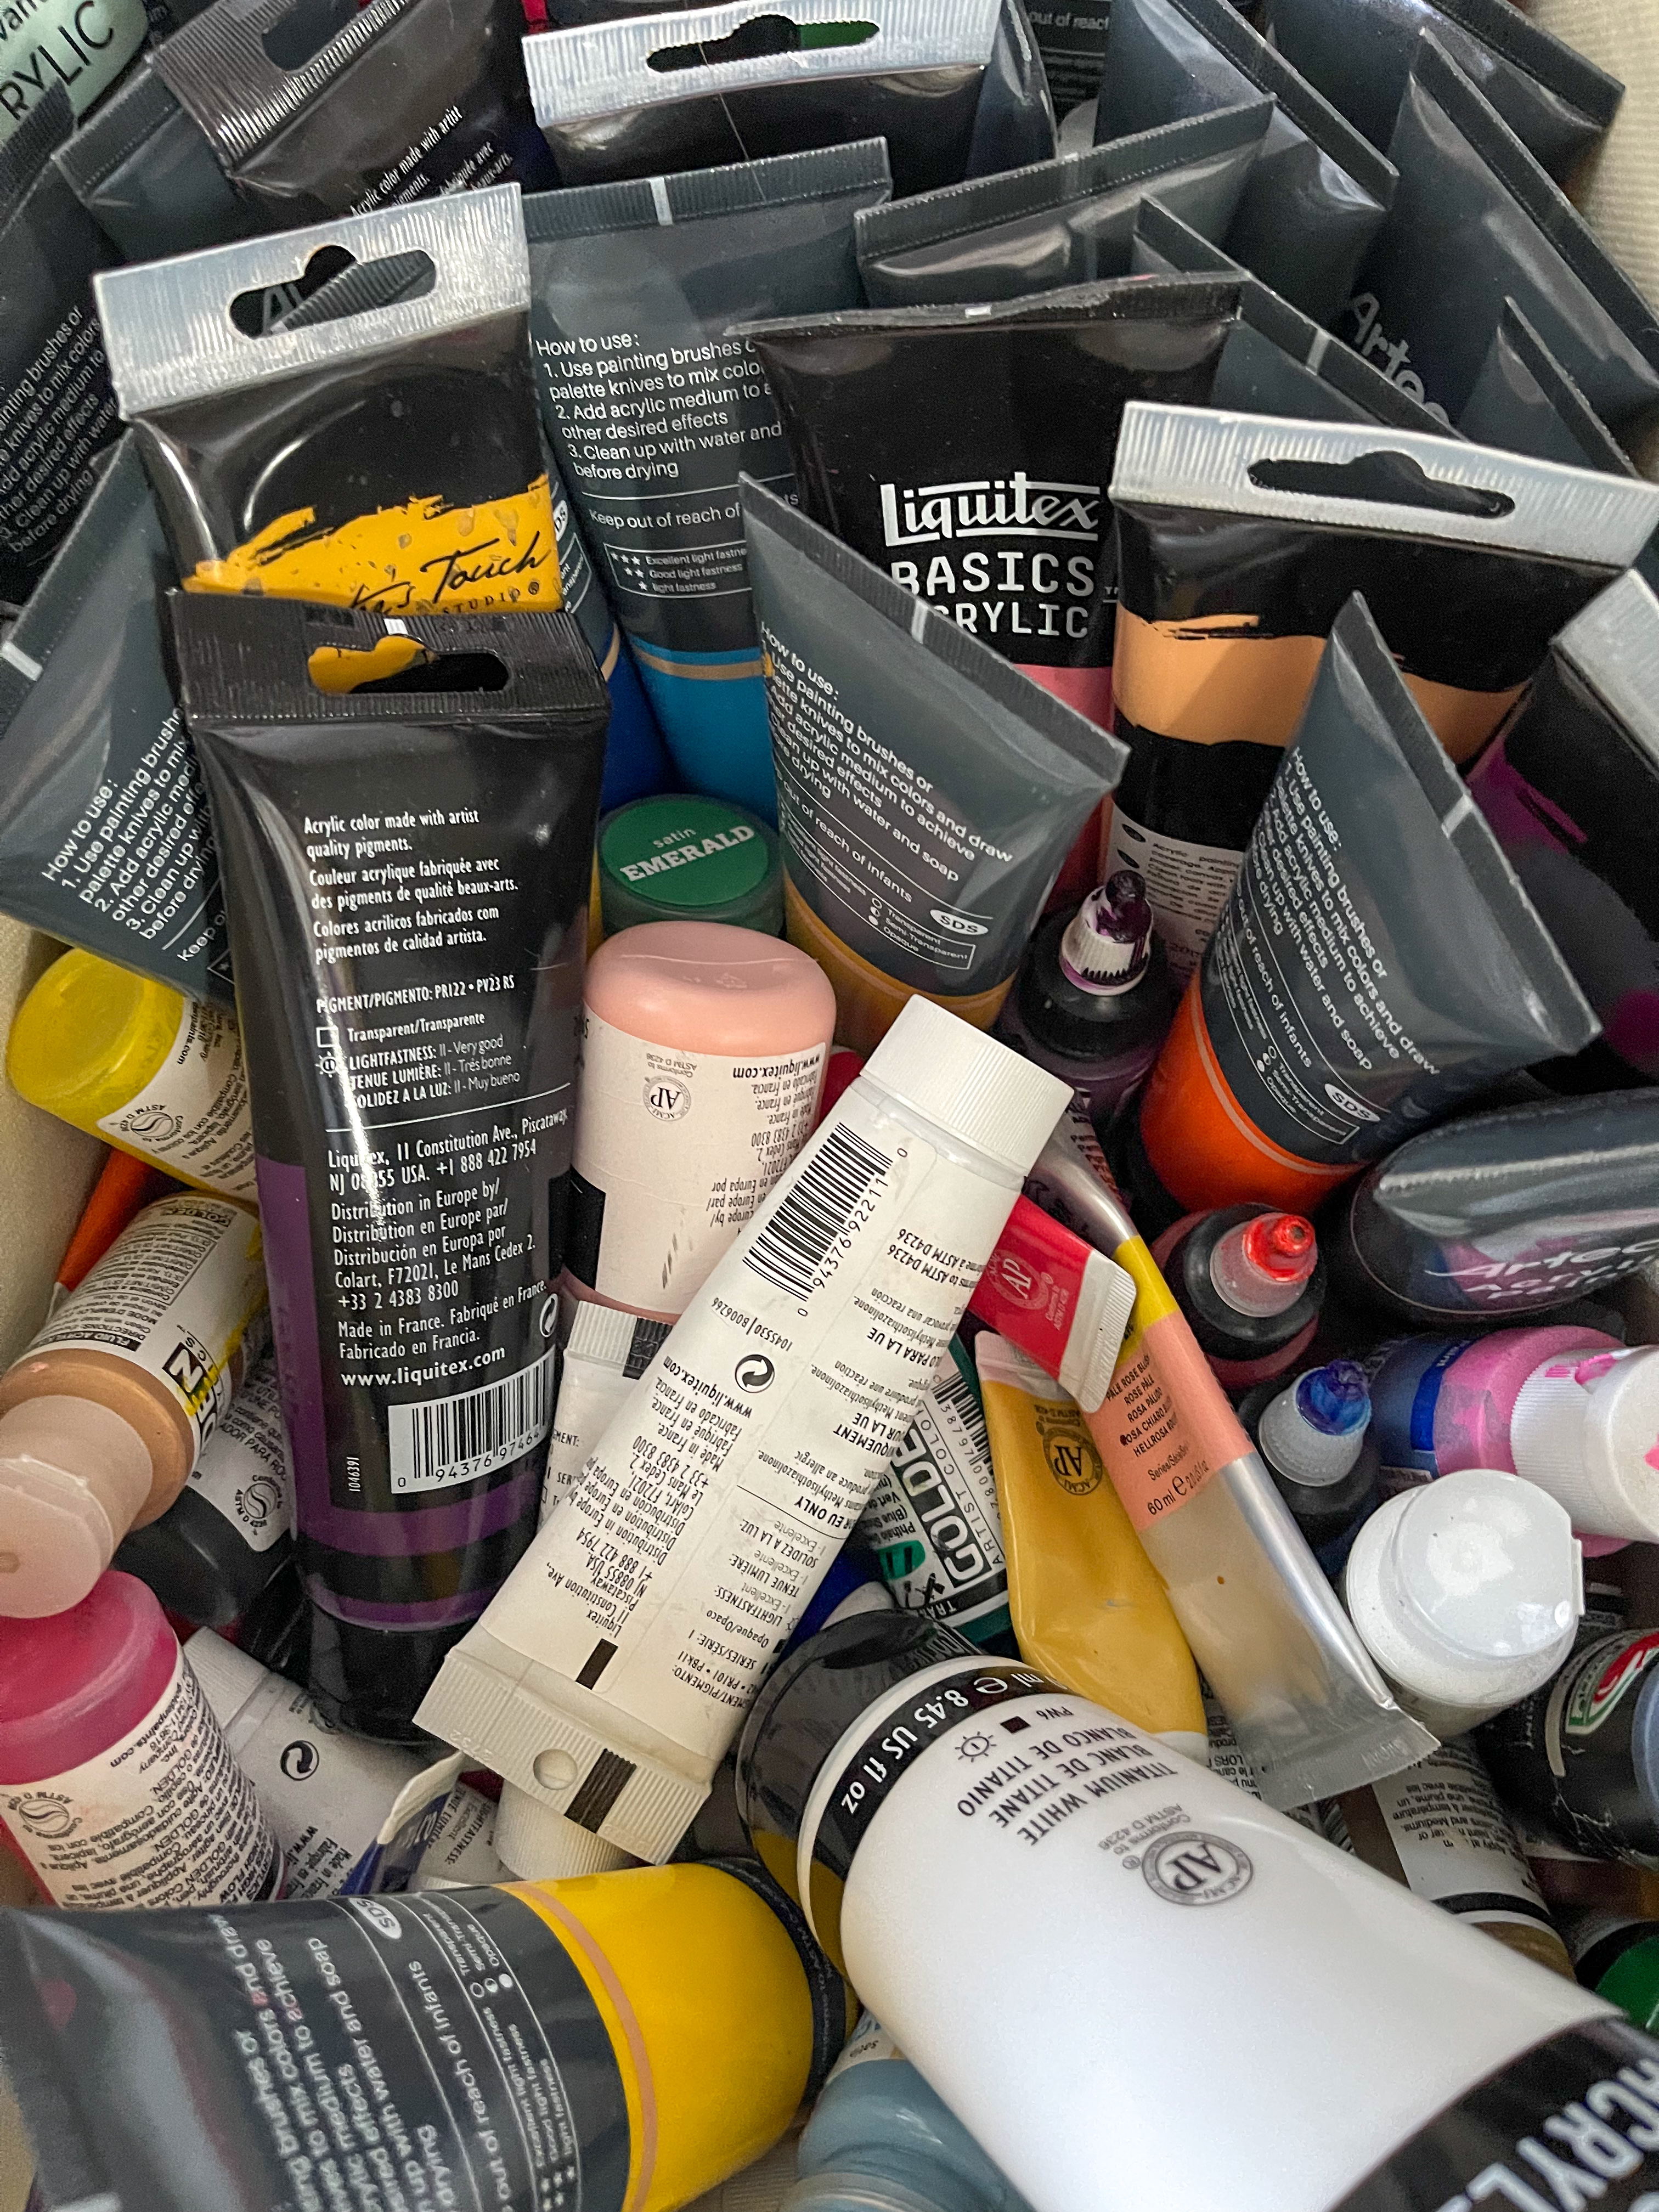
2. Paints and Mediums
Paints are the backbone of mixed media art. Here are the essentials:
- Acrylic Paints: These are versatile, fast-drying, and come in a wide range of colors. Acrylics can be used on almost any surface and layered with other materials. For a more dimensional effect, try mixing them with modeling paste or gel mediums.
- Watercolors: Great for washes and transparent layers. They add a delicate touch to your mixed media pieces. Consider experimenting with watercolor pencils for more control over your application, then blend with water.
- Gesso: A primer used to prepare surfaces. Applying gesso to your canvas or paper provides a nice texture and helps paint adhere better. Try tinted gesso for a unique base that can influence the mood of your piece.
- Gel Mediums: These can be used to create texture, extend the drying time of acrylic paints, or adhere materials to your surface. They come in different finishes like matte or gloss, allowing you to control the final look of your piece.
Advanced Tip: Experiment with mixing gel medium with acrylics to create custom glazes, adding depth and translucency to your layers.
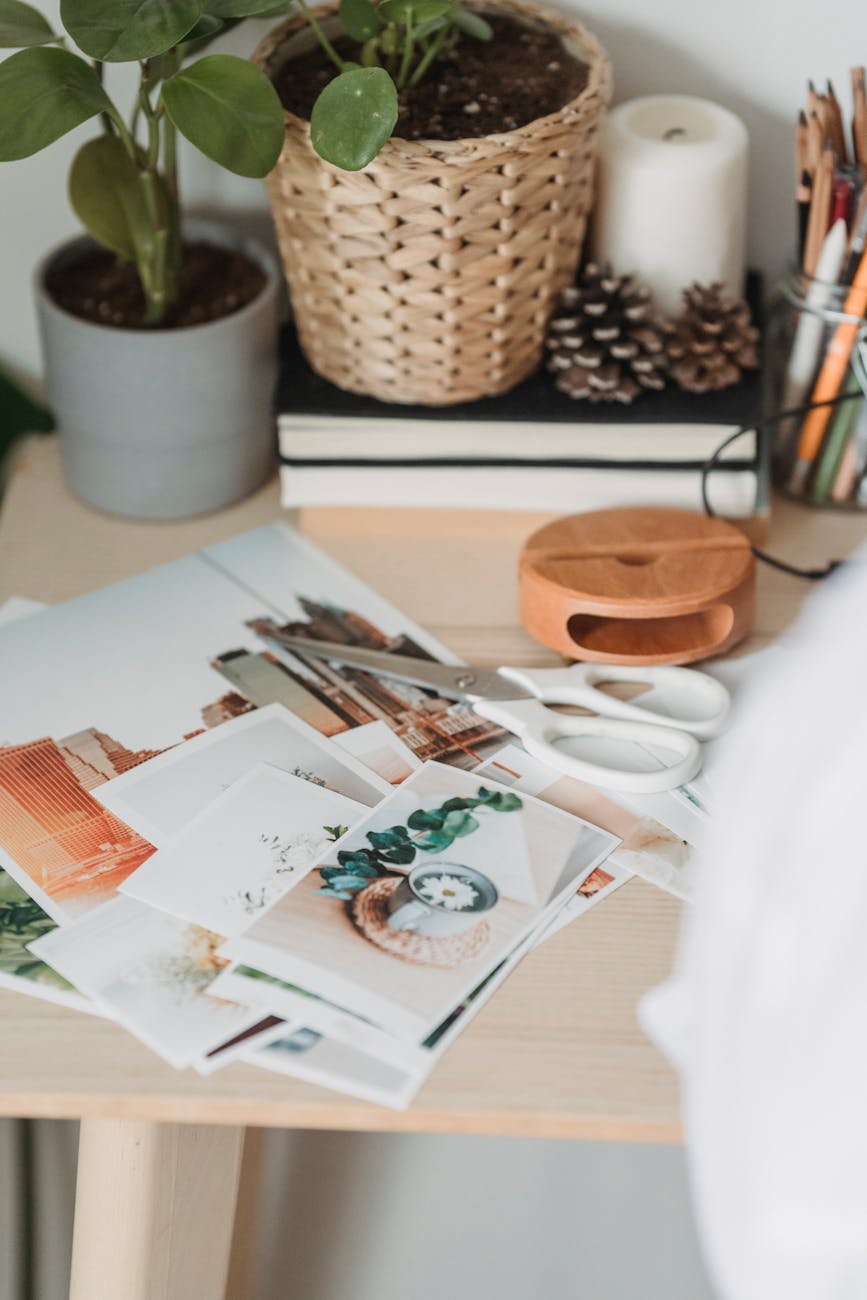
3. Collage Materials
Collage is a fun way to add depth and interest to your work. Consider these materials:
- Magazines and Newspapers: Cut out images, text, and patterns to incorporate into your art. For a more cohesive look, stick to a color scheme or thematic elements.
- Tissue Paper: Adds delicate layers and texture. Crumple it up before applying for an even more textured effect, or paint it with watercolors for a stained-glass look.
- Old Book Pages: Great for adding text elements and vintage vibes. Try tea-staining the pages for an aged appearance.
- Scrapbooking Paper: Available in countless patterns and colors to suit any theme. Don’t be afraid to mix and match patterns, but use a unifying element like color to tie them together.
Pro Tip: Keep a stash of handmade or specialty papers, such as rice paper or mulberry paper. These papers can add an unexpected texture and visual interest to your collage work.
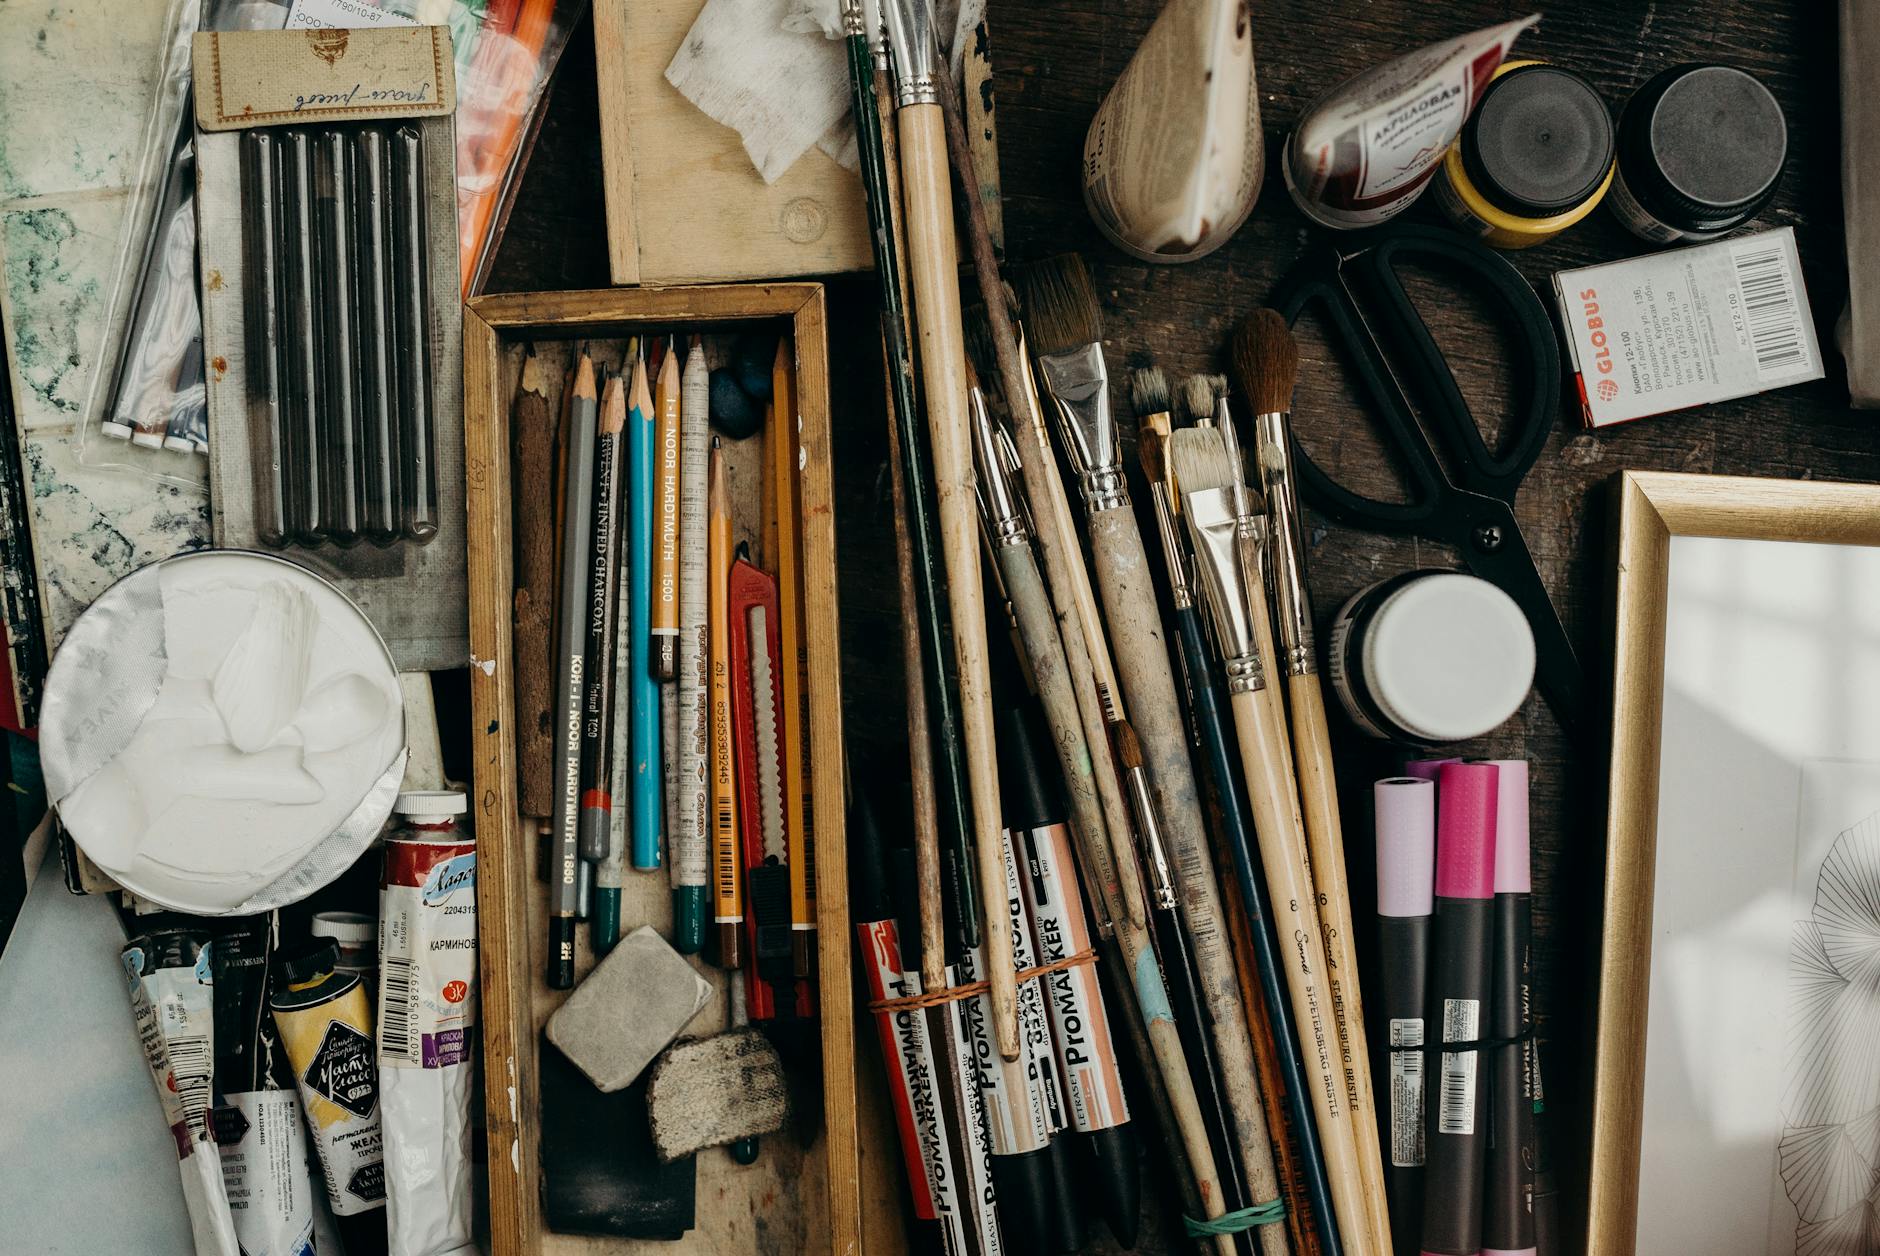
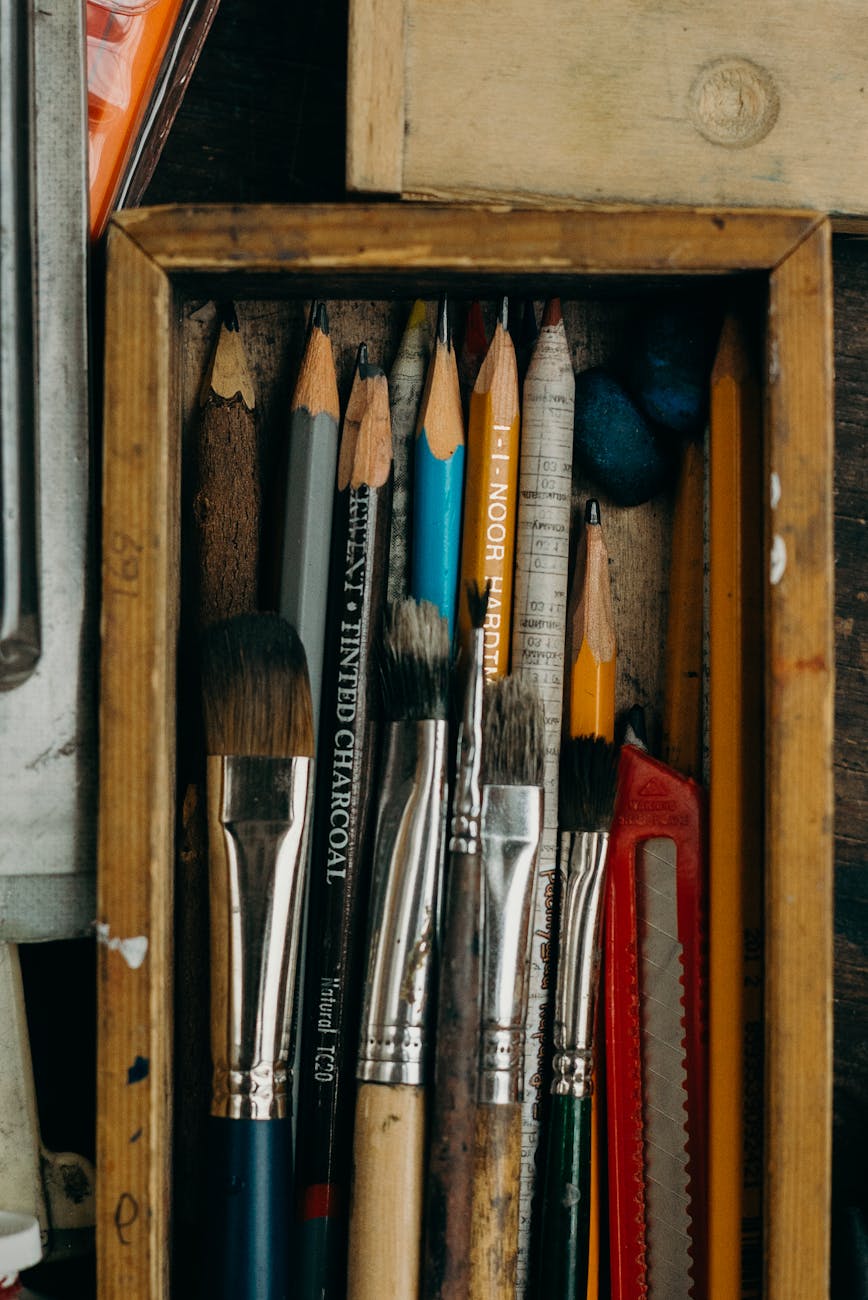
4. Drawing and Mark-Making Tools
Adding details and marks is crucial in mixed media. Here are some must-haves:
- Pencils and Charcoal: For sketching and adding fine details. Use different grades of pencils for a variety of effects, and try blending charcoal with a tortillon for softer edges.
- Pens and Markers: Permanent markers and fine liners are perfect for outlines and intricate designs. Water-soluble pens can be activated with a wet brush to create interesting effects.
- Pastels: Soft pastels add a beautiful, blendable color, while oil pastels can be layered and smudged for texture. Try using a fixative between layers to build up intensity without smudging.
- Stamps and Ink Pads: These can create repeating patterns and interesting textures. Make your own stamps using erasers or foam sheets for a personal touch.

Advanced Technique: Use resist techniques with drawing tools. For example, draw with a wax crayon, then paint over it with watercolors. The crayon will resist the paint, creating a unique effect.
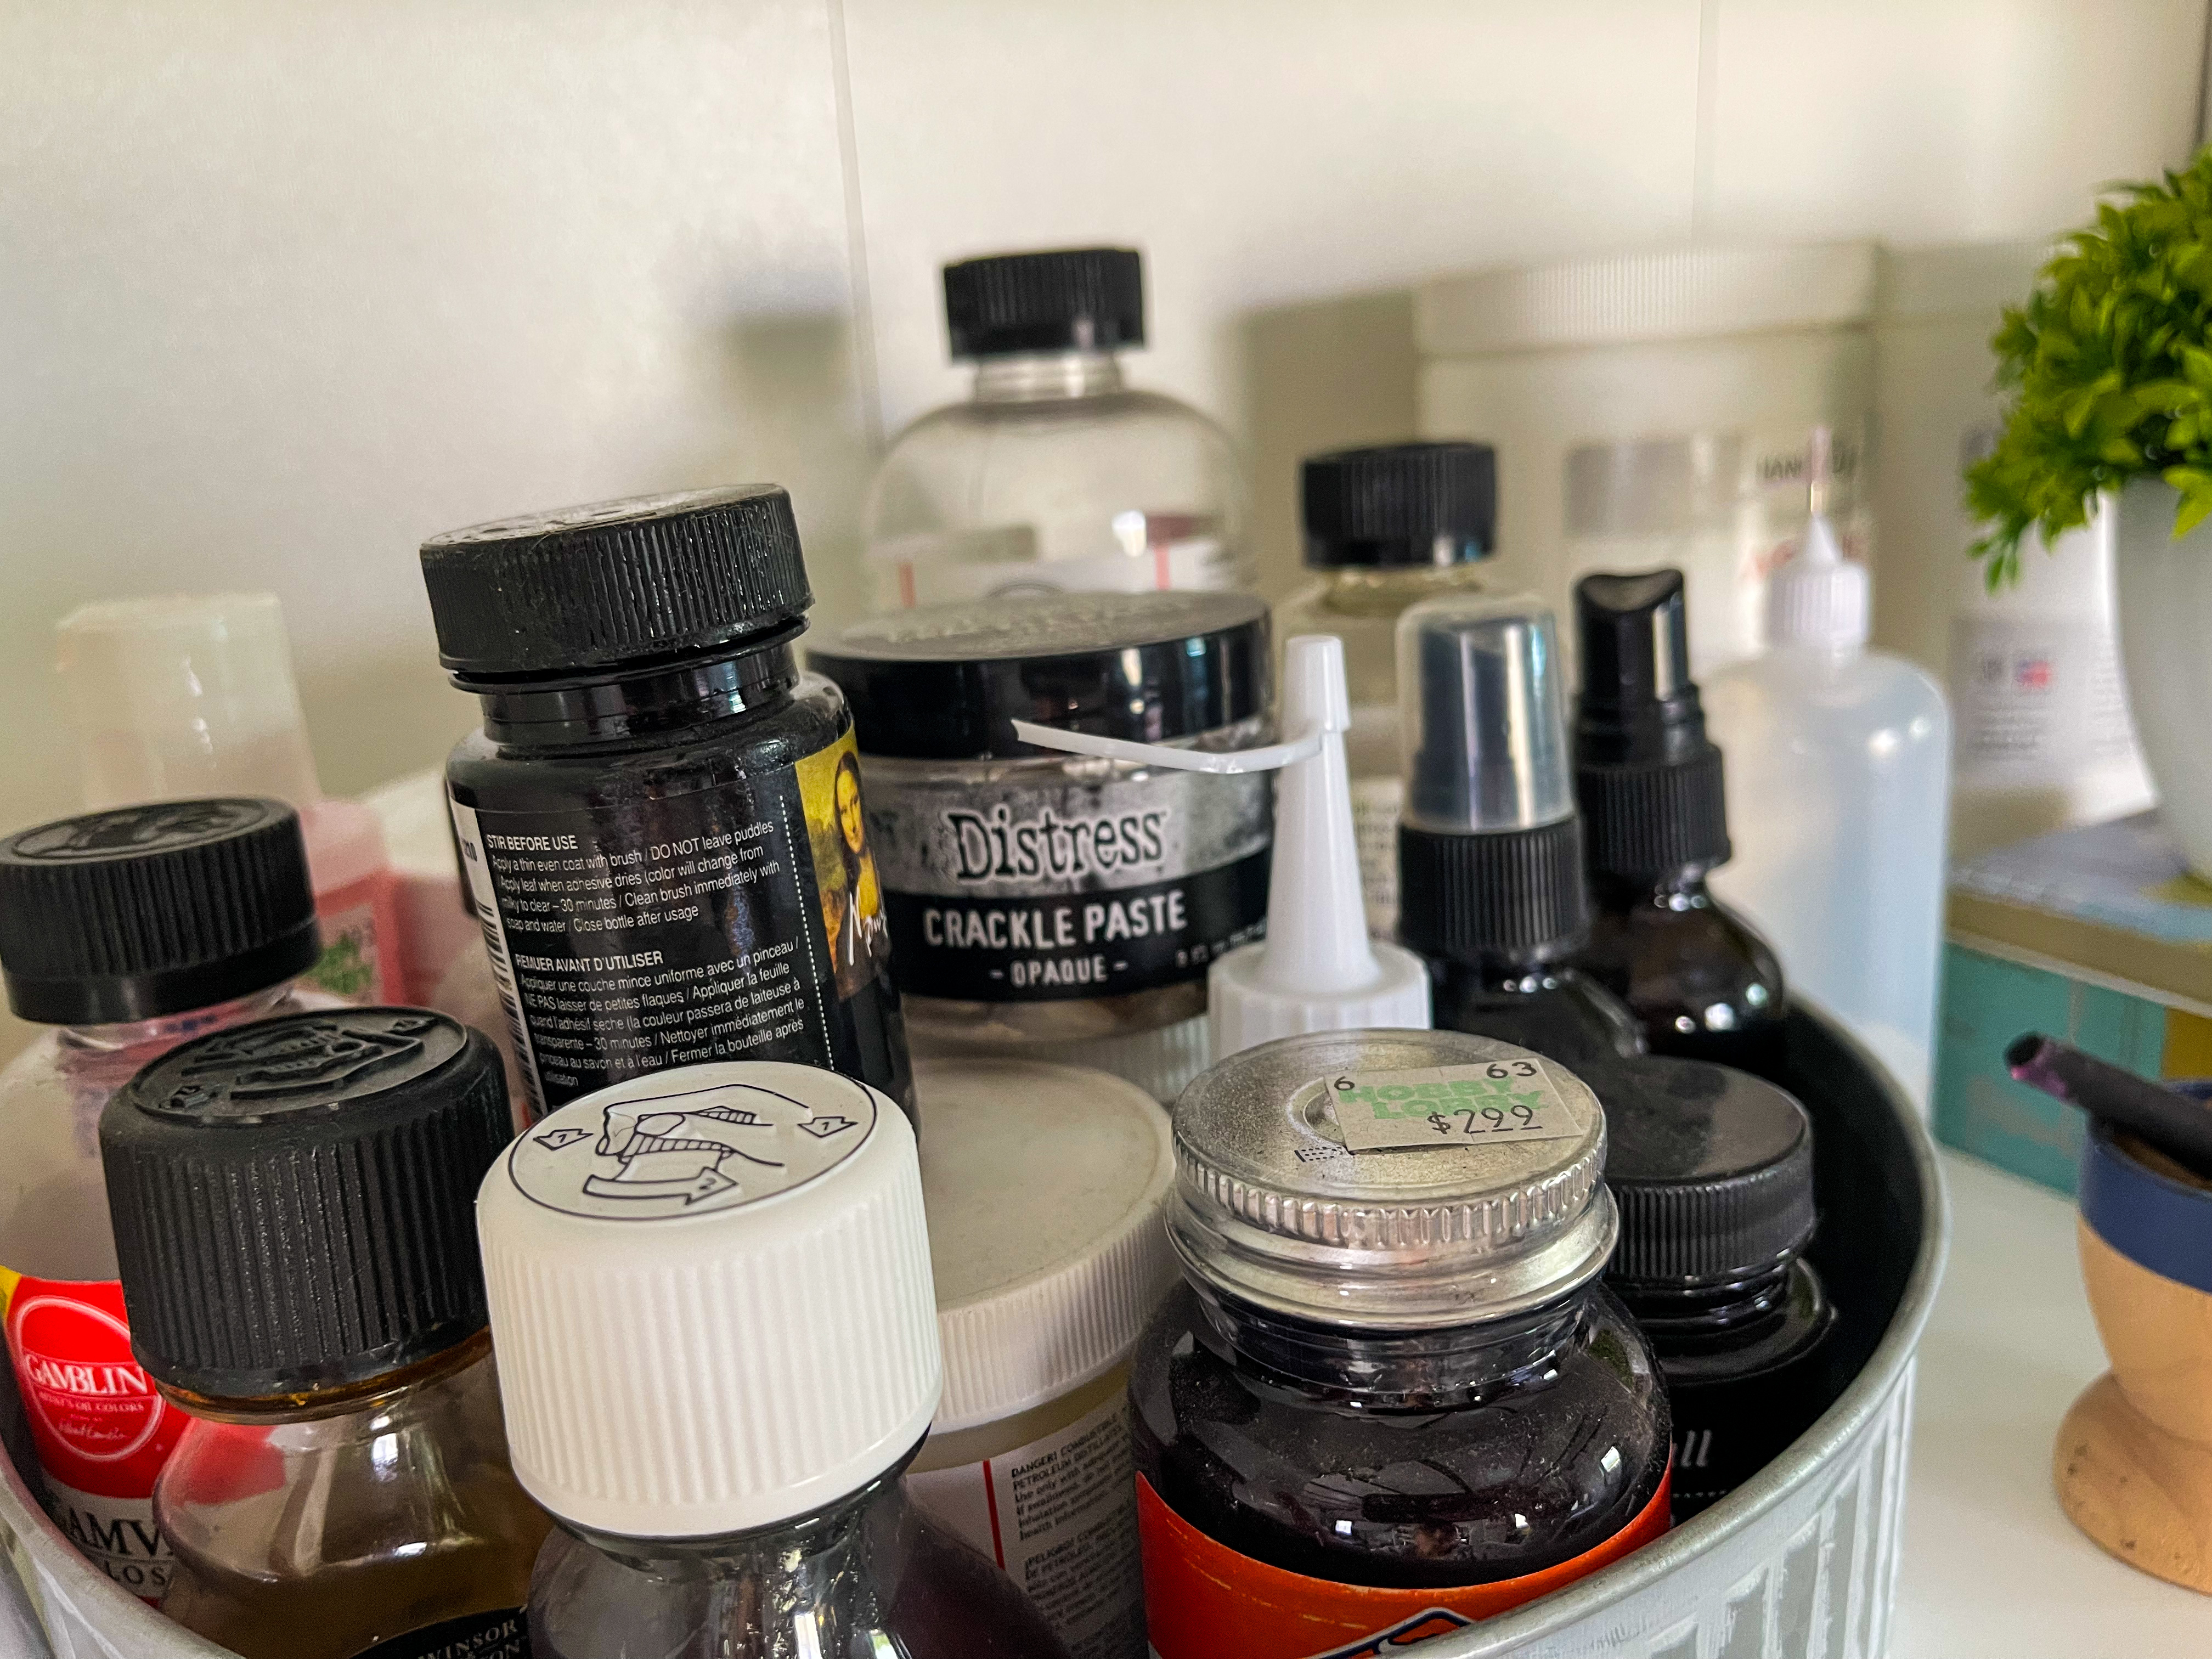
5. Adhesives and Fixatives
Keeping everything in place is important in mixed media:
- Gel Medium: Works both as an adhesive and a sealant. For a smooth finish, apply with a soft brush in thin layers.
- Mod Podge: A popular all-in-one glue, sealer, and finish. It comes in matte, gloss, and even sparkle finishes—experiment with different types for varied effects.
- Double-Sided Tape: Useful for attaching lighter elements like paper and fabric. It’s a great tool for adding delicate elements without the mess of liquid glue.
- Spray Fixative: Helps to set pastels, charcoal, and other smudge-prone materials. Always spray in a well-ventilated area and test on a scrap piece first to ensure it doesn’t alter the colors.
Tip: For mixed media pieces involving heavy collage or dimensional objects, consider using heavy-duty adhesives like epoxy resin or a hot glue gun for more secure bonding.
6. Texture and Tools
Adding texture can make your piece stand out:
- Modeling Paste: A thick paste that can be applied with a palette knife to create raised areas. You can also press objects into it for interesting impressions or mix it with acrylic paint for colored texture.
- Stencils: Use with paint or modeling paste to add patterns and designs. Try layering stencils for more complex patterns.
- Palette Knives: For applying and manipulating paint and other materials. They’re perfect for creating sharp edges or for scraping back layers to reveal what’s underneath.
- Found Objects: Buttons, beads, fabric scraps, and natural elements like leaves or twigs can add unique textures. Don’t be afraid to incorporate unconventional items like metal washers, pieces of lace, or even fragments of old jewelry.
Pro Tip: Texture isn’t just about what you add—it’s also about what you take away. Try scratching into wet paint or gesso to create interesting patterns, or use sandpaper to distress areas of your work.
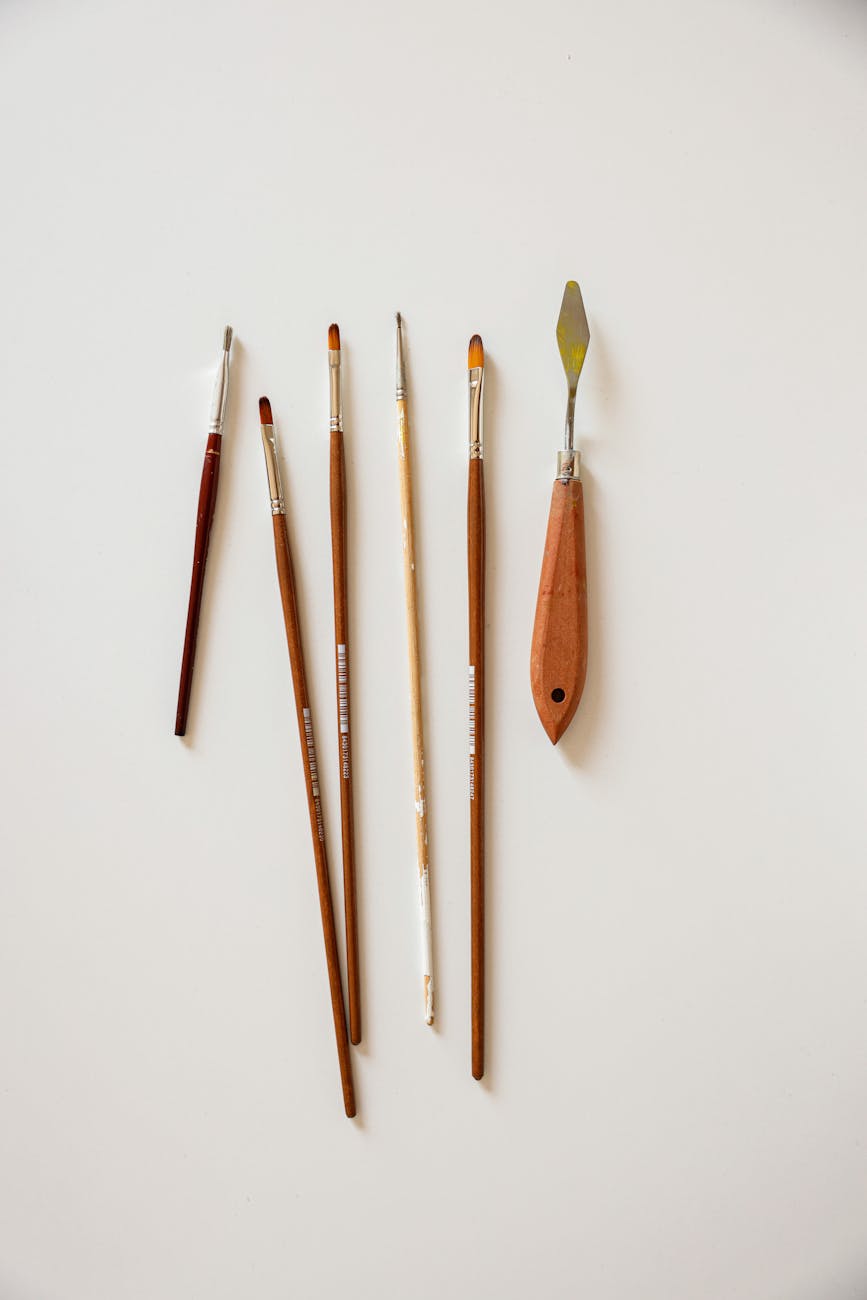
7. Brushes and Applicators
The right tools for applying your materials are essential:
- Paint Brushes: Have a variety of sizes and shapes on hand for different effects. Fan brushes, for example, can create delicate streaks, while round brushes are great for detail work.
- Foam Brushes: Great for applying paint evenly and creating smooth backgrounds. They’re also useful for applying varnish or other finishes without leaving brush strokes.
- Sponges: Perfect for blending and creating textured effects. Sea sponges, in particular, can create natural, organic patterns that are hard to achieve with a brush.
Advanced Suggestion: Experiment with unconventional applicators like credit cards or plastic wrap to create unique effects. For example, drag a credit card through paint to create sharp, layered lines.
8. Storage and Organization
Keeping your materials organized will make your creative process smoother:
- Storage Bins: Keep your tools and materials sorted and easily accessible. Label bins for quick access, especially if you have a large collection of supplies.
- Jars and Containers: Store smaller items like beads, buttons, and collage elements. Clear containers are ideal so you can see what’s inside at a glance.
- Palette: A palette for mixing paints is essential, and a palette with a lid can help keep paints usable longer. Consider using a wet palette for acrylics to extend their drying time.
Pro Tip: Invest in a rolling cart for your most-used supplies. This allows you to move your materials around your workspace easily and keeps everything within reach.
Mixed media art is all about experimentation and combining different elements to create something truly unique. Don’t be afraid to try new techniques and materials—the possibilities are endless! Remember, there are no strict rules in mixed media; it’s all about expressing yourself and having fun.
So, gather your materials, find your inspiration, and start creating. Your mixed media masterpiece awaits!
